This guide assumes you know the basics from ship classes explained. For shell and armor mechanics read armor and angling, and for which line to pick see best ships for beginners. All guides: World of Warships hub.
What a battleship is for
A battleship's job is to take space and hold it. You are the ship the enemy cannot ignore: your guns can delete a cruiser that shows its side, and your armor and heals let you absorb fire your team cannot. That is your value. A battleship that sits at the map edge shooting at maximum range does neither, and leaves the cruisers and destroyers in front of it to die.
Think of the battle in three phases. Early, you support the push toward a key area and punish ships that overextend. In the middle, you hold your flank and trade fire from an angle. Late, when the enemy has lost ships, you push and finish the battle. Most battleship mistakes come from doing the late game job in the first minutes.
Positioning: second line, not last line
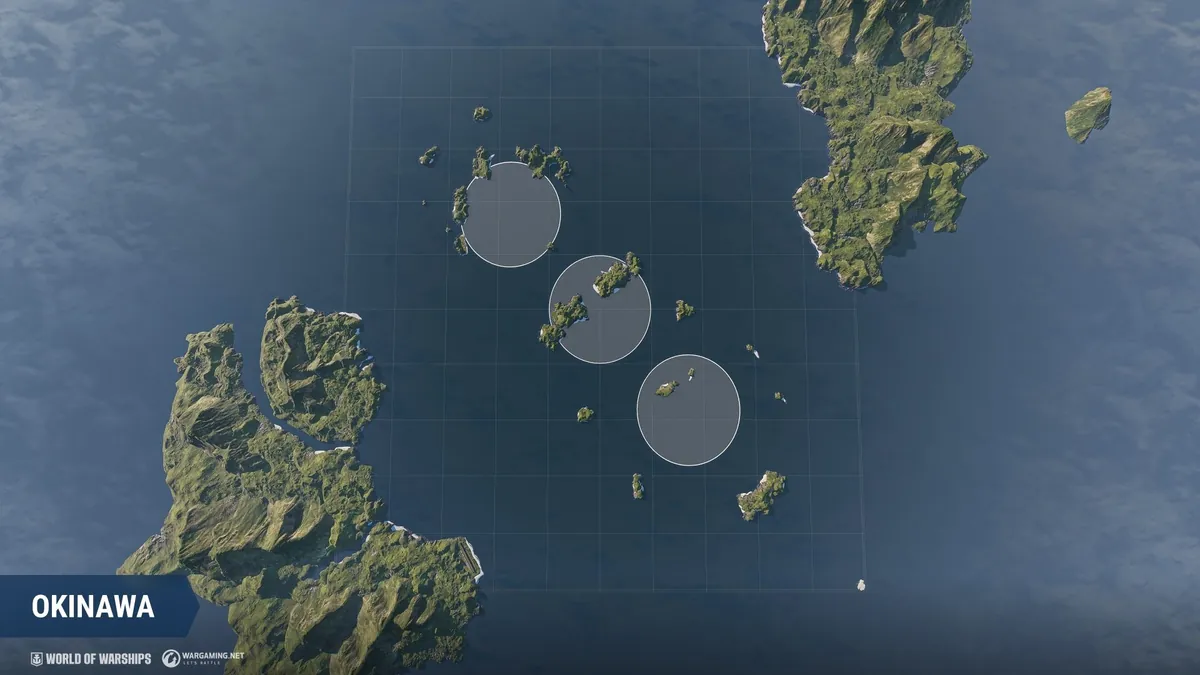
- Sail behind your cruisers and destroyers, not behind the whole team. Close enough that your guns cover the key area they are fighting for.
- Keep an escape route. Before you commit to a position, check where you will go if three enemies show up. An island between you and them, or open water behind you to reverse into.
- Never park broadside. Every position should let you fire while your bow or stern points at the biggest threat.
- Use islands to block fire from one side. An island that hides you from half the enemy team halves the damage you take.
- Watch the minimap for the flank you are not on. If it collapses, you get crossfire from two directions. Move before it happens, not after.
Aiming: AP, the waterline and when to switch to HE
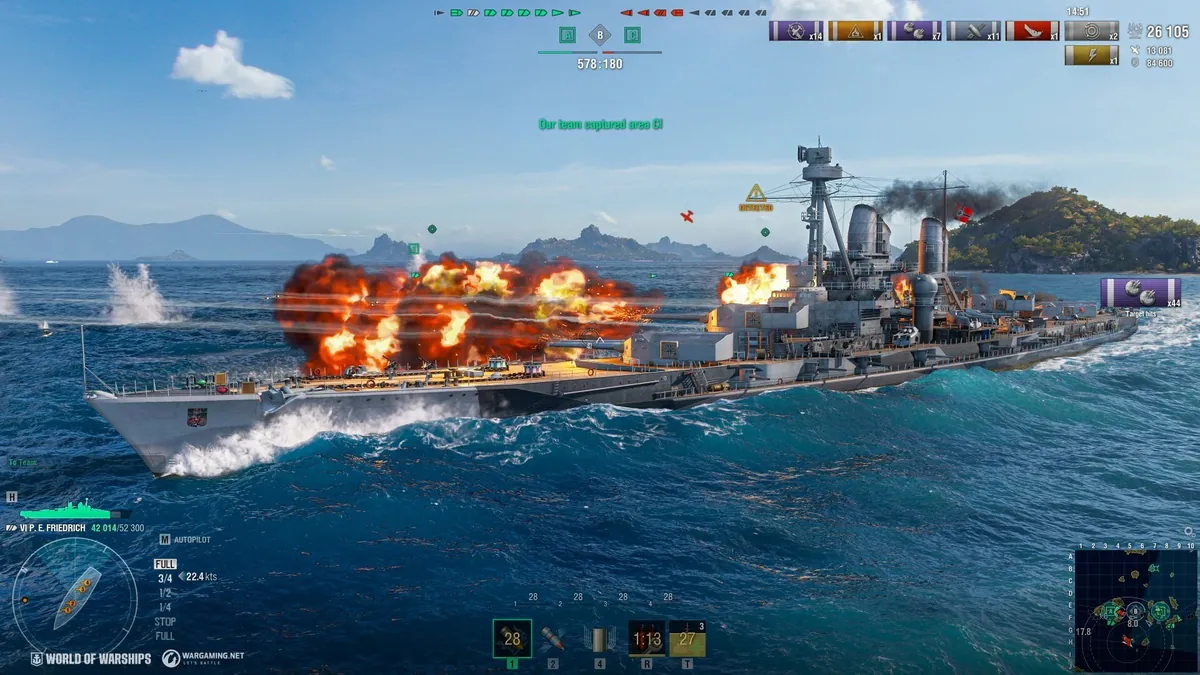
Your AP shells do their best damage when they hit the citadel, the armored box with the engines and magazines inside the hull. Against a cruiser or battleship sailing broadside to you, aim at the waterline in the middle of the ship. Against a target sailing toward you or away from you at a steep angle, AP tends to bounce or do little: aim at the upper hull and superstructure, or switch to HE if your ship has good HE.
Lead matters more in a battleship than anywhere else, because your shells fly the longest. Watch the target's speed, aim ahead of its bow, and after each salvo correct by where the splashes landed. Battleship guns are inaccurate by design: shells land somewhere inside a dispersion area around your aim point, so a miss with a good aim point is normal. Aim at the middle of the target, not the edge, and keep shooting.
Against destroyers, use HE or your secondaries. A battleship AP shell often passes straight through a destroyer for very little damage. More on all of this in armor and angling.
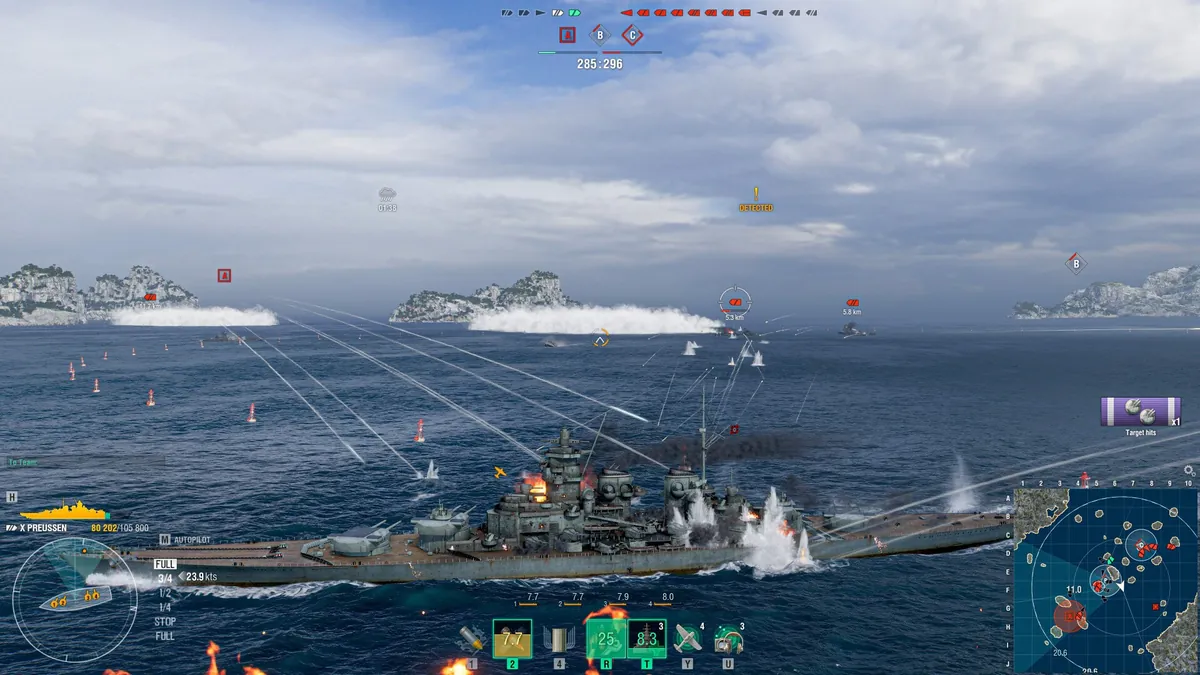
When to push
Battleships win games late. The moment to move forward is when your side has the advantage and the enemy can no longer punish you for it:
- Count the enemy ships on your flank. If your team has more, push with them.
- Check where the enemy destroyers are. An unspotted destroyer ahead of you is a torpedo spread waiting to happen.
- Check your consumables. Push with Damage Control Party ready, not on cooldown.
- Push at an angle. Move forward with your bow toward the enemy. Never cross open water broadside.
- Take the key area or the island the enemy just left and hold it, so your team can follow.
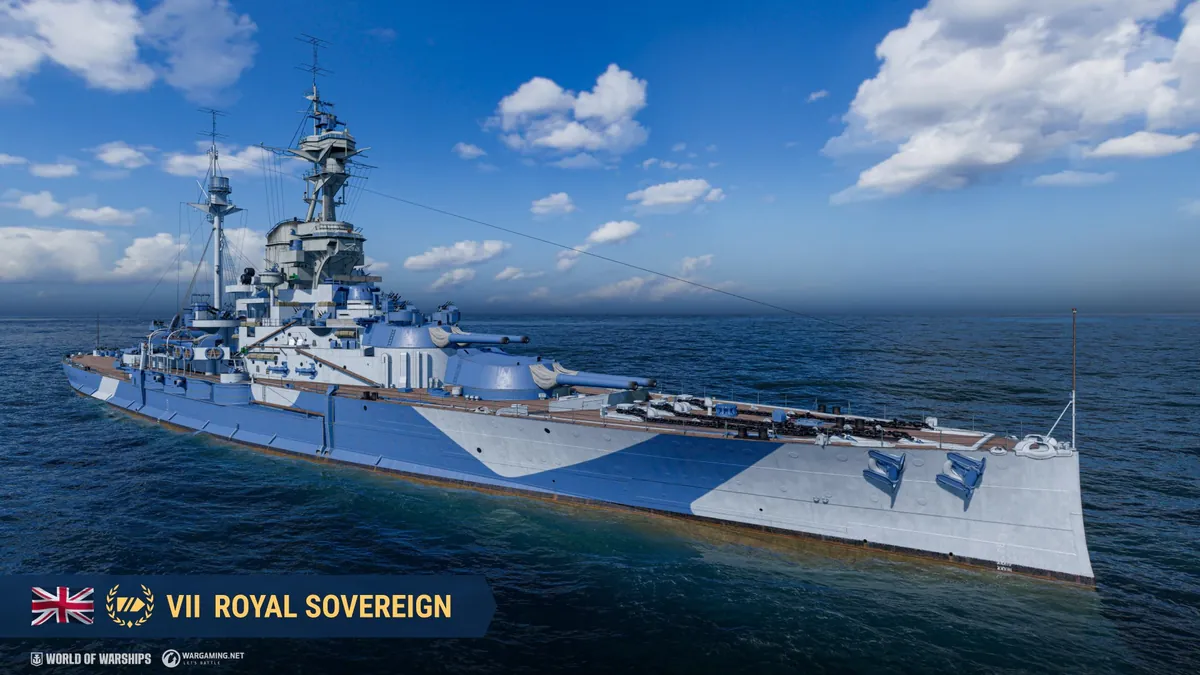
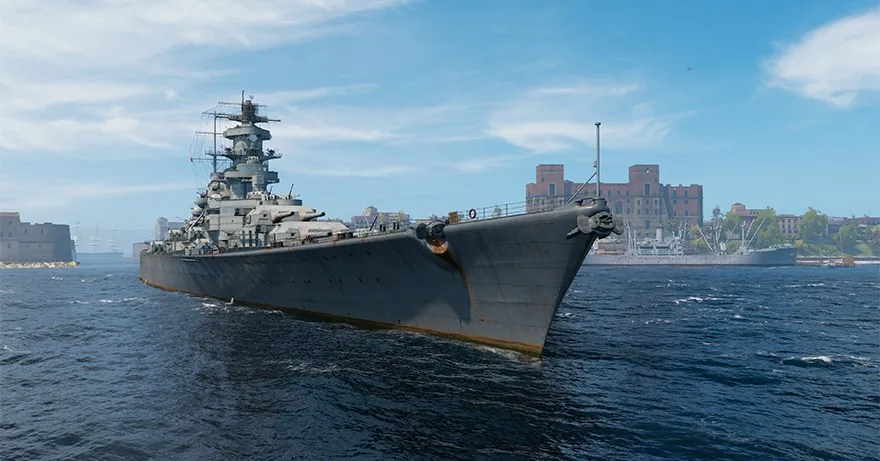
 How to Play: Battleships (official World of Warships channel)
Damage Control Party and Repair Party
Two consumables keep a battleship alive, and using them well is worth more than any skill point.
Damage Control Party puts out fires and stops flooding, and makes you immune to new ones for a short time. On most battleships it has unlimited charges with a long cooldown. Do not use it on a single fire: the official wiki makes the same point. Use it for flooding, which is caused by torpedo hits and drains hit points fast, and for two or more fires at once. Then, while it is on cooldown, show the enemy the least of your ship you can: a ship that has just used Damage Control is a target every HE player will notice.
Repair Party heals over time. It cannot restore everything: according to the official wiki it restores up to half of normal damage, only a small share of citadel damage, and all of the damage from fires and flooding. Two rules follow. First, use Repair Party right after Damage Control has put out fires, because fire damage heals back fully. Second, citadel hits are almost permanent damage, so angling to deny citadels matters more than healing.
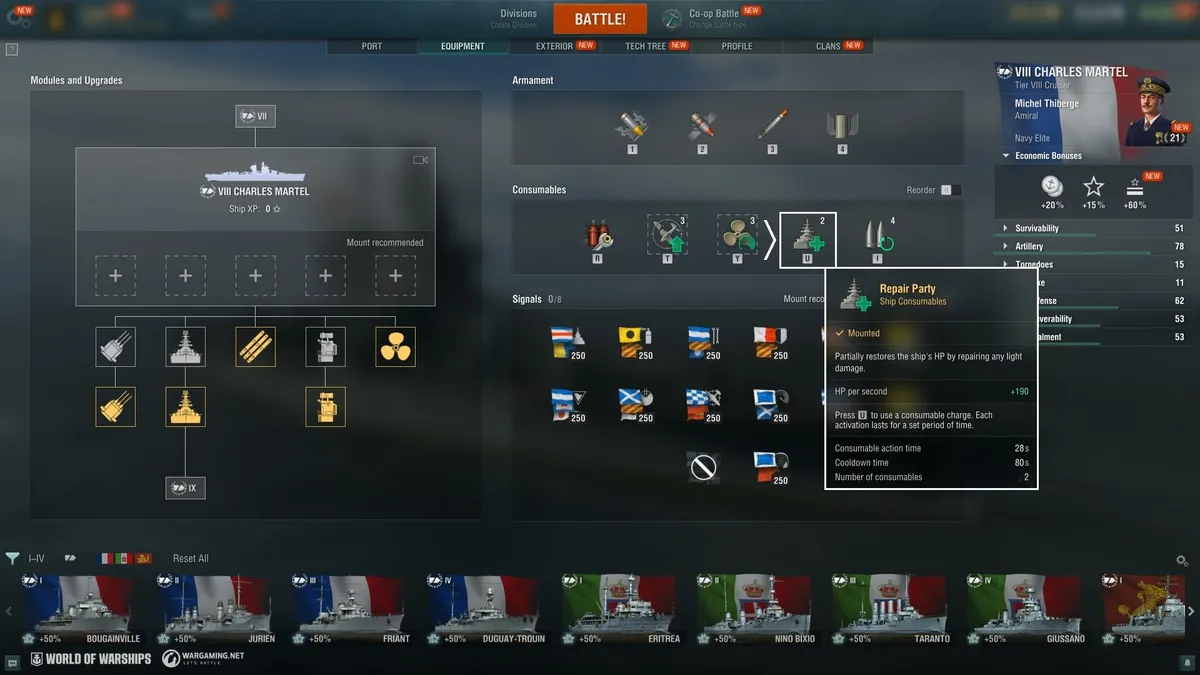
| Situation | Damage Control Party | Repair Party |
|---|---|---|
| One fire, no other threats | Wait | Wait |
| Two or more fires | Use | Use after the fires are out |
| Flooding | Use | Use after the flooding stops |
| Citadel hits only | No effect | Little effect, angle better |
| Low HP, many small hits | Keep ready | Use |
Fire, flooding and how to avoid both
Battleships have several fire zones along the hull, and each burning zone ticks damage until it goes out. Several fires at once are what slowly kill battleships that never take a citadel. To take fewer: stay out of view of HE cruisers when you can, use islands, and when you are on fire, fall back behind cover rather than pushing on. The commander skills in our commander skills guide include options that shorten fires.
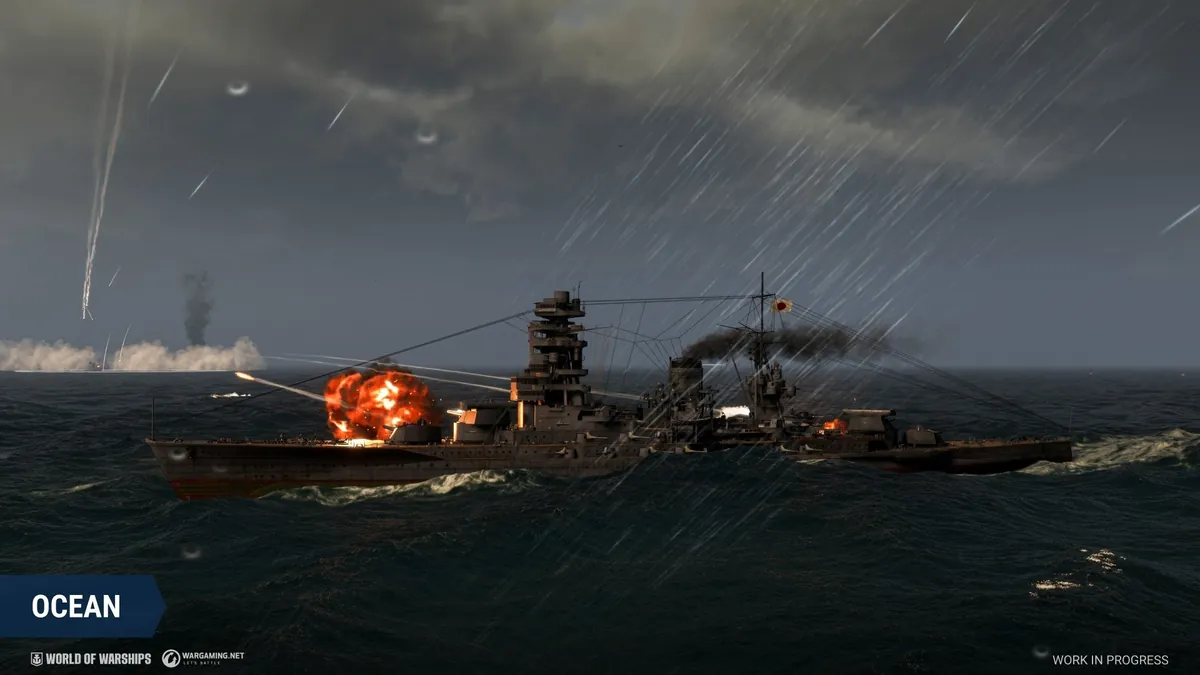
Flooding comes from torpedoes. The best defense is not to get hit: change speed and heading when enemy destroyers are not spotted, watch for the torpedo warning and turn into the spread to pass between torpedoes. A battleship that sails in straight lines near unspotted destroyers is the easiest torpedo target in the game.
Detection and staying hidden
Battleships are big and easy to spot, but they still have a detection range, and it matters. When you fire your main guns, your detection grows to roughly your gun range for about twenty seconds. So stop firing when you need to disappear, wait until you go dark, then move. Being on fire also makes you easier to spot. A battleship that can become invisible on purpose for a minute can reposition when every other battleship is stuck in the open.
Secondary batteries: when to build for them
Every battleship has secondary guns that fire automatically at enemies within their range. You can pick their target with Ctrl and a click. On most battleships they are a bonus, not a weapon you build around. A few lines, mainly the German battleships, have secondaries strong enough that a dedicated build pays off, and the commander skill Manual Secondary Battery Aiming improves their reload and accuracy against the target you choose.
Our advice for new battleship players: learn the main guns, angling and consumables first, and leave secondary builds for your second battleship line. A secondary build only works when you get close, and getting close safely is exactly the skill a new player does not have yet.
Whatever you build, keep one rule: a battleship that pushes alone to use its secondaries is a battleship that meets torpedoes alone.
Five habits of good battleship players
- They aim at the middle of the target and correct after every salvo.
- They turn back to an angle before the enemy reloads.
- They hold Damage Control for flooding and multiple fires.
- They push in the last third of the battle, not the first.
- They watch for destroyers before every move.
FAQ
How do you play battleships in World of Warships?
Stay in the second line behind your cruisers, keep your bow or stern toward the main threat, fire AP at broadside targets and push once your side has the advantage.
When should I use Damage Control Party on a battleship?
For flooding and for two or more fires at once. Using it on a single fire leaves you exposed when the next fires start.
Why do my battleship shells miss?
Battleship guns have wide dispersion by design and long shell flight times. Lead the target properly, aim at the middle of the ship and correct after each salvo.
Should battleships use HE or AP?
AP against broadside cruisers and battleships, HE against destroyers and against targets angled so steeply that AP would bounce.
How do battleships avoid torpedoes?
Change speed and course when enemy destroyers are not spotted, and turn into a torpedo spread to slip between the torpedoes.